

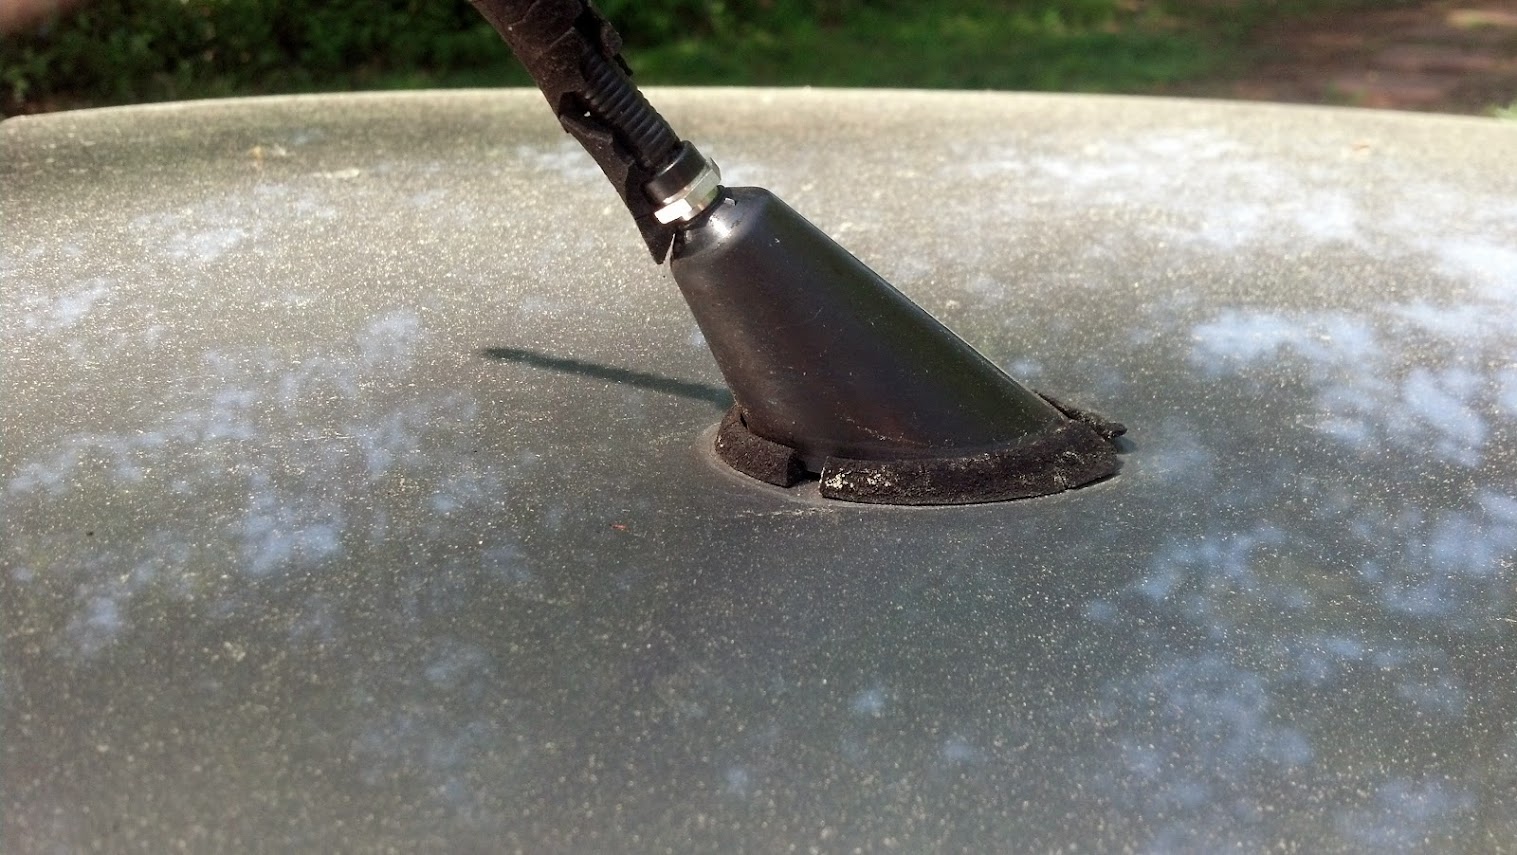
If you drive a Viggen and you have the original antenna, like me, you are probably embarrassed by it. It's flaking apart, the gasket and antenna are just terrible. A few months ago I looked up the parts, antenna 5262480 and base 5122460, thinking I would replace it. I was shocked to find out that all of the major Saab part sites and mechanics wanted 170 for the antenna and another 100+ for the base. It goes without saying - I did not order anything for that price. I turned to ebay! And order a fuba style 16 inch antenna from the Raderra store, guaranteed to fit my Viggen. Price was about 10 dollars after shipping. After receiving it in the mail I skipped out to my car to install it quickly as it was just the mast. I was not pleased to find that it did not fit: bolt/stud too small. I tried to contact Raderra through email and through ebay - they never replied. Depressed I gave up for a few weeks, but the disgust mounted. I then found one site selling the 3" stub antennas which states the 1999 Viggen has a 5mm stud and the 2000-2002 have a 6mm (excellent new information). I wanted to retain the stock appearance and luckily found a second site, AntennaMastsRus, selling both the 5mm and 6mm versions along with the base gaskets. It was about 40 dollars shipped for the antenna and gasket. It was well worth it.
What it took to do:
Parts) New mast and gasket (http://www.antennamastsrus.com/Saab/93/Saab 93 Viggen.htm)
1) Remove the shelf from the trunk and fold the seats down
2) Take the screws out of the grab handles (undo the plastic cover with an x-acto knife then remove two torx screws each)
3) Release the C pillar covers (grab and pull, I just undid the top of it)
4) Remove the rear headliner clips (twist 90 degrees and pull down)
5) Blindly slide your hand up in there and locate the bolt holding the antenna base
6) Adjust the wrench appropriately and un-torque it a half turn, remove the bolt with your fingers
7) At this point there should be enough slack in the wire you can lift up the mount and remove the old gasket
8) Slide the new gasket on (The gasket is an oval, so make sure it is centered to the base at this time - I got to do it twice...)
9) Put the base back flush with the roof crawl in and reattch the bolt, tighten it up with the wrench
10) Restore all of the trim in reverse order, be carful to make sure all of the seals are in order
The whole thing took less than an hour to do. I did not use any silicone as the stock installtion did not. It seems to have worked for the last twelve years. As a test I hit it with the hose and did not have any water sneak in. I guess I will see if it was a mistake not to in the near future. But, overall I am very pleased with the results.
![Image]()
![Image]()
![Image]()
![Image]()
![Image]()
![Image]()
What it took to do:
Parts) New mast and gasket (http://www.antennamastsrus.com/Saab/93/Saab 93 Viggen.htm)
1) Remove the shelf from the trunk and fold the seats down
2) Take the screws out of the grab handles (undo the plastic cover with an x-acto knife then remove two torx screws each)
3) Release the C pillar covers (grab and pull, I just undid the top of it)
4) Remove the rear headliner clips (twist 90 degrees and pull down)
5) Blindly slide your hand up in there and locate the bolt holding the antenna base
6) Adjust the wrench appropriately and un-torque it a half turn, remove the bolt with your fingers
7) At this point there should be enough slack in the wire you can lift up the mount and remove the old gasket
8) Slide the new gasket on (The gasket is an oval, so make sure it is centered to the base at this time - I got to do it twice...)
9) Put the base back flush with the roof crawl in and reattch the bolt, tighten it up with the wrench
10) Restore all of the trim in reverse order, be carful to make sure all of the seals are in order
The whole thing took less than an hour to do. I did not use any silicone as the stock installtion did not. It seems to have worked for the last twelve years. As a test I hit it with the hose and did not have any water sneak in. I guess I will see if it was a mistake not to in the near future. But, overall I am very pleased with the results.


")


